When you choose a resin tint color, you also get to choose how opaque (solid) or transparent (see-through) that color is. This dramatically affects how your board looks and which details show through.
Three Opacity Levels
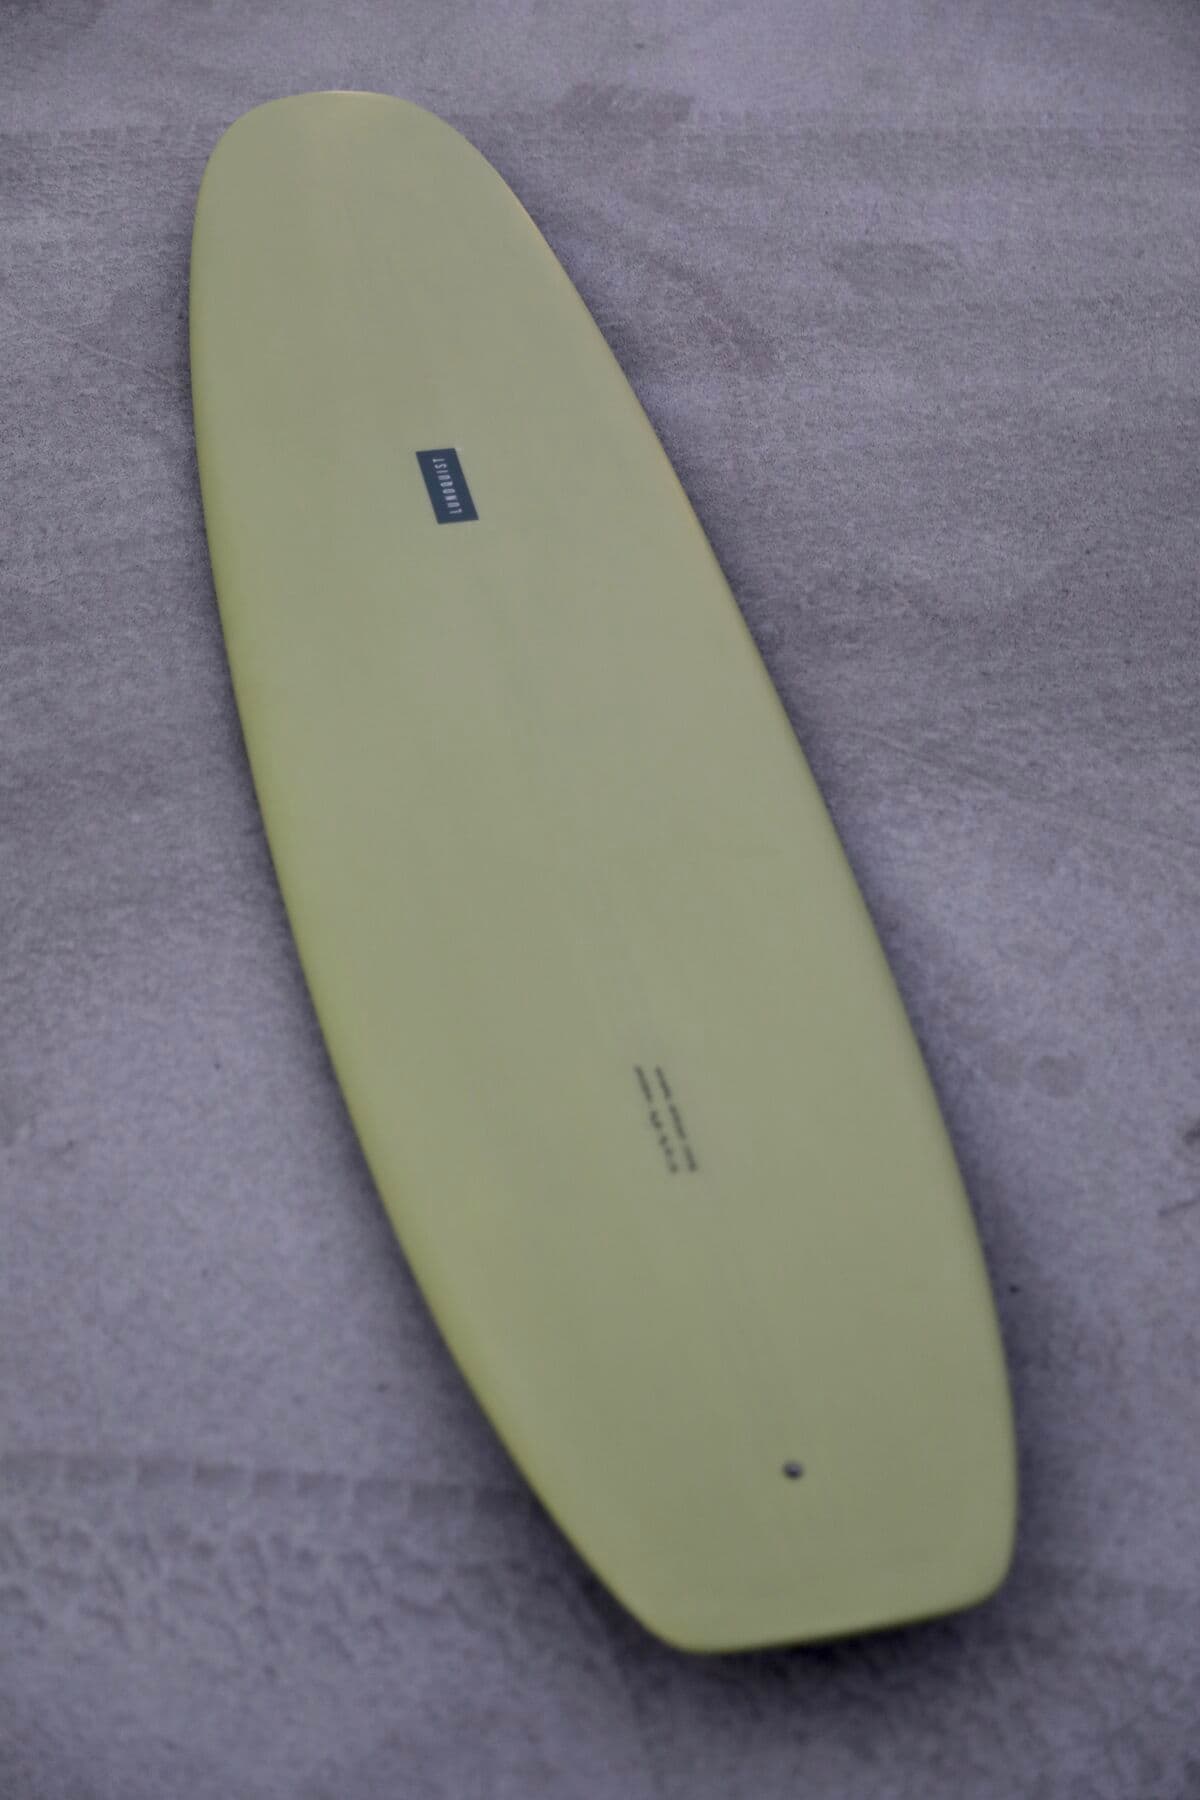
Transparent
- What you see: The color is visible but semi-transparent. Your stringer, foam color, and internal details show through clearly.
- Aesthetic: Classic, light, elegant. Colors appear more vibrant and alive because of the depth.
- Best for: Boards with beautiful stringers (especially balsa or multi-wood glue-ups) that you want to showcase. Lighter builds where you want to see the foam structure.
- Price: Lowest (base resin tint price)
50/50 Opaque
- What you see: Half the board is colored, half the foam color shows through. Stringer visible but more muted.
- Aesthetic: Rich, sophisticated color with hints of foam and stringer showing through. Creates depth and complexity.
- Best for: Surfers who want color without completely hiding the board's internal structure. Great for intricate stringers you're proud of.
- Price: Mid-range
100% Opaque
- What you see: Completely solid color from top to bottom. No foam showing, stringer mostly hidden. Pure color.
- Aesthetic: Bold, clean, professional. Ideal for solid company branding or sleek modern designs.
- Best for: Solid-color designs, company signage boards, wall-hanging boards where you want color to dominate. Also great if your stringer is simple basswood and you want to hide it.
- Price: Highest (requires more pigment)
Combining Opacity with Stringer Choice
- Transparent + Balsa Stringer = Stunning, shows off the wood grain beautifully
- 50/50 + Cedar Stringer = Rich, balanced look with the wood subtly visible
- 100% Opaque + Black Ply = Clean, contemporary, all about the color
- 100% Opaque + Colored Foam = Seamless, monochromatic look
- Transparent + Colored Foam = Modern, minimalist, interesting interplay of colors
Pro tip: If you're doing a custom airspray design on top, solid (100% opaque) underneath often looks better than transparent, because the color base won't compete with the painted design.
Rails: How Color Actually Works
This is the piece most customers haven't had explained to them, and it matters a lot for how your board will actually look. A board is built with color applied to the cloth that wraps around the rails, not painted onto a flat surface. That means the way color sits on the rails is mechanical — it's a function of how the cloth folds and how many layers overlap — not a free variable you can pick separately.
There are three legitimate ways to do color on a Lundquist board:
One Color, Wrapped (Default)
A single resin tint color applied to the cloth that wraps around both rails from the deck side and the bottom side. Where the two layers of cloth overlap on the rail, the color doubles up — so the rail automatically reads as a slightly darker variation of the same color.
That darker rail is not a flaw. It's the natural, gorgeous thing resin tint does. A coral deck + coral bottom gives you a burgundy rail. A teal deck + teal bottom gives you a deep teal rail. This is the classic look.
Two Colors, Wrapped (Blended Rail)
Two different resin tints, one on the deck and one on the bottom, both wrapped around the rails. Where they overlap on the rail, the two colors blend — not swap. A blue deck wrapping down + an orange bottom wrapping up gives you a purple-to-brown-ish rail where they meet. The rail color is always the optical mix of the two colors, not a third selectable color.
This is a legitimate and beautiful way to build a two-color board. The customizer should render the blend accurately so you see what you're actually going to get.
Inlay (Deck or Bottom Only)
An inlay is when a color is applied to a panel on the deck (or bottom) and the color butts up to the rail — it goes all the way to the edge but does NOT wrap around. Because no color wraps over the rail, the rail stays a single uniform color (the foam/base cloth color, usually clear/white). There's no darker hue on the rail and no blended edge — the rail simply stays untouched.
This is its own distinct look — clean panel of color on the deck (or bottom), crisp edge at the rail, rails left clear. Different from a wrapped tint where the rail always reads darker because of the double cloth overlap.
What You Can't Do
You can't pick three independent colors (deck, bottom, and rails separately) because that's not physically how a board is built. The rail color is always a function of the deck and bottom colors and how they overlap, or of an inlay edge if you've chosen that route.
If the customizer ever lets you "pick a rail color independently," that's a rendering shortcut, not a real build option. Always read the rail color as the optical result of what's happening on the deck and bottom.